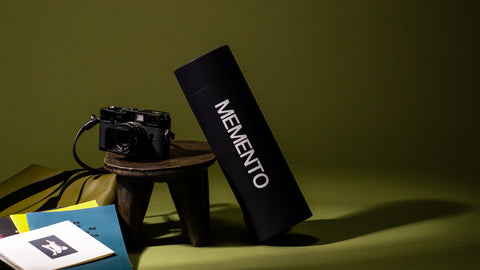


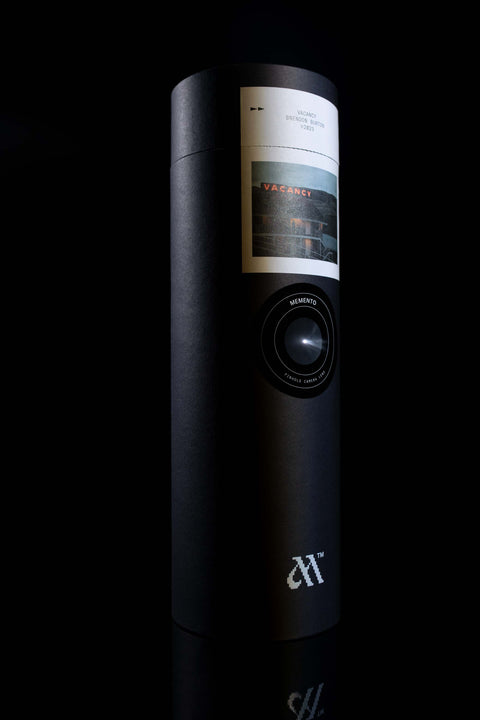
Memento Pinhole Camera
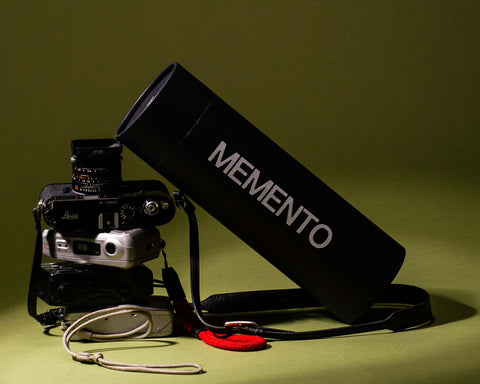
Follow these instructions to turn your packaging into a simple camera.
For those unaccustomed to photography, the concept of using a tube or a box that can harness light traveling through a small hole to reflect on to photosensitive paper can all seem a bit daunting in the digital age.
Pinhole cameras, or “camera obscuras” actually date back to the 5th century when it was first recorded that activity of illuminated objects in a light filled room could pass through a small hole into a very dark room and cast a living image onto the opposing wall. It wasn’t until much later that we were able to permanently record that reflected light through the development of light sensitive paper & developing agents. Light sensitive paper then evolved into film and the first modern day cameras were born. All harnessing the same basic principles of light capture.
Today, digital sensors record the light traveling through lenses on smartphones and digital cameras. An estimated 5 billion photos per day are taken in this method across the world. All based upon the same magic of light capture first utilized hundreds of thousands of years ago.
Curious to learn more? Pixar’s Eben Ostby over at Khan Academy covers the basics on pinhole photography and light.
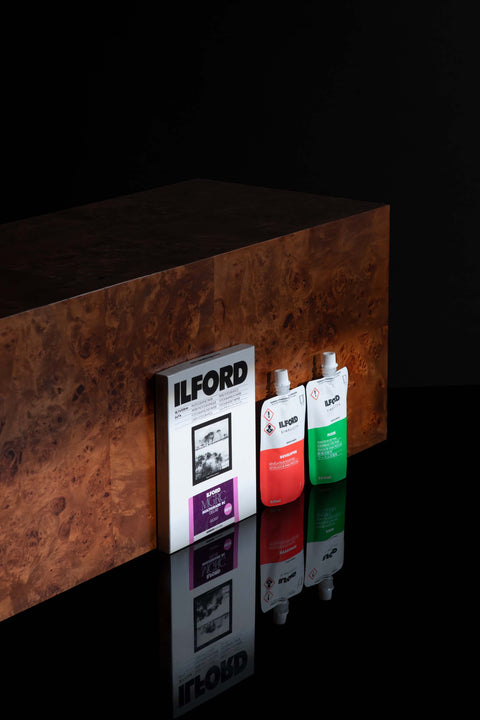
Purchase our Pinhole Camera Bundle to receive photographic paper and our developer & fixer solution.
If sold out, purchase from B&H Photo at the following links:
Your local photography store or an online retailer may also stock photographic paper and developer solution. Illford is our recommended brand - we recommend resin coated multigrade glossy paper but pearl or satin finish paper also works.
As an alternative to buying the larger bottles of developer and fixing agent you can also buy the Ilford Developer Starter Pack good for a single use development session.*
*The Ilford Starter Pack is technically formulated for film, not Pinhole Photographic Paper, but has been tested to work for both. It's a similar price point to the two bottles of developer and fixer but an option if you only want to try pinhole photography once before buying the larger bottles that can be used for 5-10 developing sessions. You do not need both the starter pack and the large bottles of developer or fixer. The wetting agent and stop bath packets in the starter pack are not required for developing your first pinhole photographs but come with the pack.
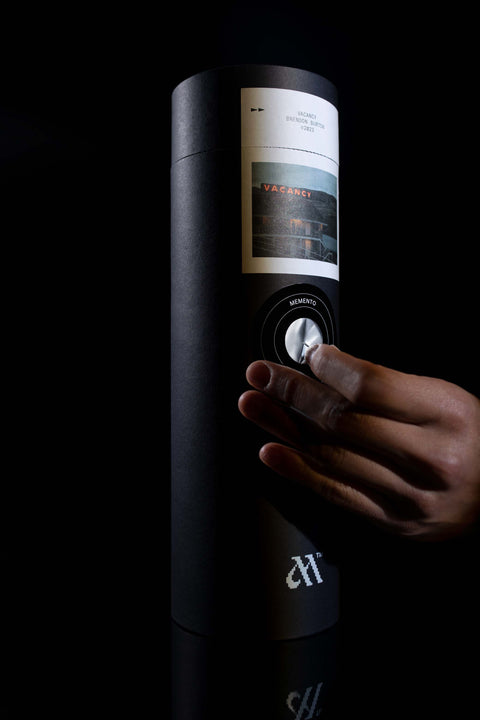
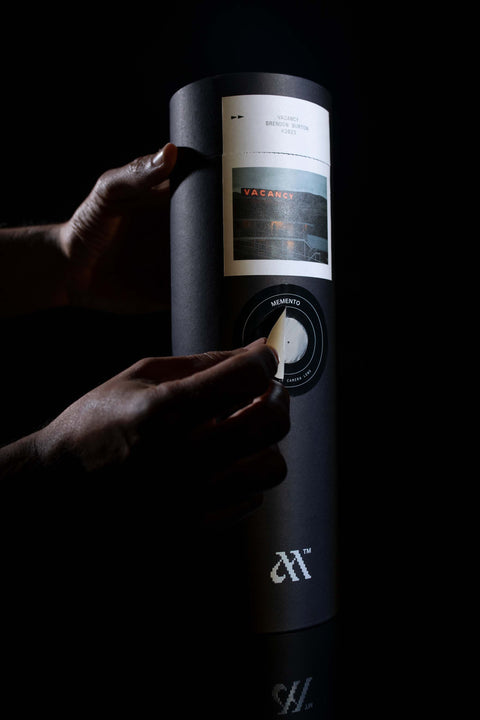
Cut a 1” circular piece of tinfoil. Apply over the circular cutout in the Memento artist tube using the doughnut shaped sticker that arrived with your Memento order.
Using a push tack or safety pin, create a very small hole in the center of the tinfoil.
As a final step, repurpose the black embossed black circular sticker from the packaging and apply over the tinfoil to close the lens (as shown in the image displayed for step 3). This black embossed circular sticker is the sticker that secured the tissue paper wrapping your piece of apparel inside the artist tube. If you no longer have this sticker, a piece of duct tape or electrical tape will suffice. Anything that wont let light through and can be easily peeled away to take a photo as the shutter when needed.
MATERIALS:
- Memento Packaging
- Tinfoil
- Safety pin or push tack
Identify a room or closet in your home that can block 100% of light from entering the room. Place towels or tape along the edge of doors to block any cracks of light as needed but ensure proper airflow.
Once you’ve created a dark room you will still need a way to see around which is where a red light app on a smartphone can come in handy. Red light does not impact photosensitive paper.
We recommend NightVisionLight for Iphones or Redlight for Android (both free). Be sure to dial in the settings so it’s set on pure red light mode.
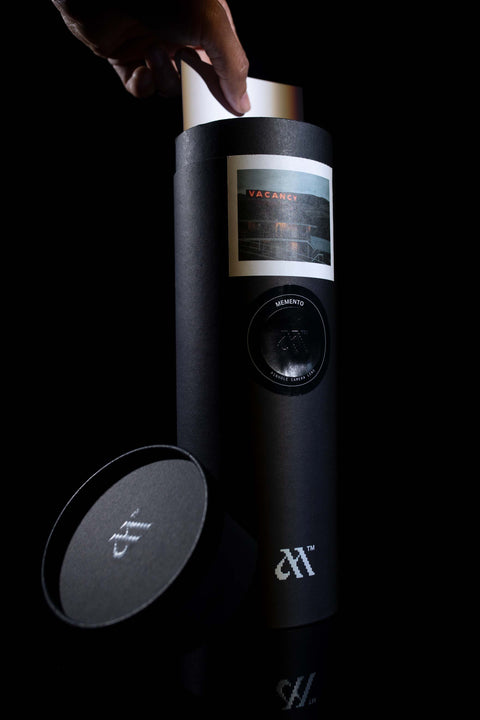
Once you have ensured the darkroom is sealed from light and just red light is emitted from your phone you are able to open the photosensitive paper packet. Place into the tube with the glossy side facing the pinhole lens and tape to the inside of the tube. The middle of the paper should be approximately centered with the pinhole.
Close the tube lid. Your pinhole camera is now fully loaded and sealed and you can exit the darkroom.
MATERIALS:
- Darkroom - closet or bathroom
- NightVision or Redlight smartphone app
- Photosensitive paper
- Tape
Find the object you want to photograph. Still objects work the best as the shutter will need to be opened anywhere from 7 seconds up to 30 minutes depending on the amount of sun or light involved.
Place the pinhole camera on a flat and even surface with the lens facing your subject.
Once ready, peel back the shutter lens while keeping the pinhole camera steady and use a smartphone to time the appropriate exposure time.
- Sunny Day: 10-20 seconds
- Overcast: 60 seconds
- Cloudy: 2 minutes
- Indoor: 30 mins to an hour
Close the shutter at the appropriate time and keep the camera sealed. Note: It may take 2-3 overall attempts to shoot and develop in the dark room to dial in the perfect level of exposure. Be sure to take note of the amount of exposure time (the time you are keeping the shutter open to take the photo).
This experimentation with exposure time is part of the creative process and may take 2-3 attempts. If you kept the hole in the tinfoil (your aperture) small (just the tip of a push tack or safety pin prick) then the above exposure times should be a pretty solid guide.
Prepare your developer and fixer solution in two trays. You can do this outside of the darkroom if easier as the solutions themselves are not light sensitive.
Follow the instructions on the back of your developer solution to dilute the solution to the appropriate amount. Generally the multigrade developer is diluted 8 parts to 1 with water. The fixer is diluted 3 parts to 1 with water. Use trays that are suitable to bath the photo paper lying flat in at least 1/2" of the diluted solutions. *Be sure to take note which tray has the multi-grade developer and which has the rapid fixer!
Ensure the shutter remains closed and the pinhole camera tube is not opened until you return to your dark room. Back in the dark room, ensure you have your developer solution, rapid fixer, trays, and tongs/gloves ready. A paper towel or two is also helpful to rest the photos on to dry.
Ensure the dark room is fully sealed off from light again and the red light app is in use. You can now open the top of the tube and take out the photo sensitive paper.
Bath the paper in the multi-grade developer solution. You should start to see the paper darkening and changing into the negative in a few seconds if it was dramatically exposed. Or it may take a couple minutes if the image was less exposed. Be sure not to over develop the image. Hold near your phone/red light app to assess how things are progressing. *Note, don't hold too close to the red light app or have the light shine too aggressively on the paper as sometimes there can be a bit of seepage of normal light coming through the smartphone screen.
Once you feel the photo is appropriately developed. Bath in the rapid fixing solution for around 30 seconds or more. Your photo is now no longer light sensitive. Remove and pad dry with the paper towel (the negative will not smudge).
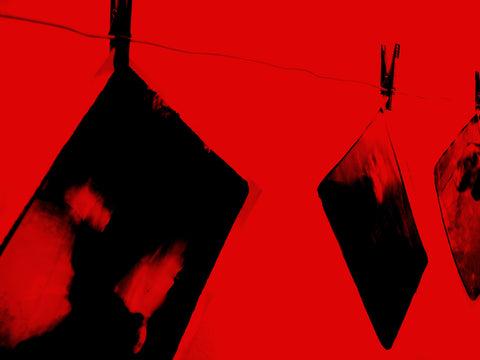
You now have your negative!
MATERIALS:
- Ilford Developer & Fixer Solution
- Water
- Kitchen tongs or gloves
- 2 bowls, trays or tupperware containers